本文主要介绍基于Vite与Vant快速开发移动端前端页面。利用Vant框架,我们可以像搭积木一样,快速地构建移动端前端页面。
本文使用的开发工具:
- nvm:Node.js版本管理工具;windows版,关注公众号”青椒工具”,发送“nvm”获取下载链接;
- webstorm:2021版,前端开发IDE;windows版,关注公众号”青椒工具”,发送“webstorm”获取下载链接;
项目源代码vantabc: 这是是一个基于vite和vant的入门学习代码,包含项目初始化,组件引入,vue-router整合等移动端前端开发的入门内容。
源代码中每个阶段都有commit,建议git log查看,回退到对应的版本查看对应阶段的源代码。
1、前端项目初始化
使用脚手架,初始化项目:
https://vitejs.cn/guide/#scaffolding-your-first-vite-project
出现问题,显示我的node.js版本太低;
这里的担心:如果舍弃当前的版本,安装更新node.js版本,那么之前使用旧版本运行的项目可能就会出错,此处最好是可以有node.js的版本管理工具,可以随意切换使用的node.js版本,然后相互之间隔离;
还真有这样的工具:
1
2
| https://github.com/coreybutler/nvm-windows
https://github.com/coreybutler/nvm-windows/releases
|
nvm简单的使用命令:
1
2
3
4
5
6
7
8
|
nvm list
nvm install 18.16.1 64-bit
nvm use 18.16.1
node -v
|
再重新运行脚手架,创建项目:
需要我们输入的信息包括:
- 项目名称;自己取个名字;
- 框架;选择”Vue”;
- 是否使用TypeScript:是;
完成创建后,我们可以使用webstorm打开项目。在终端安装依赖:
安装完毕依赖后,点击如下条目对应的左边绿色三角形:
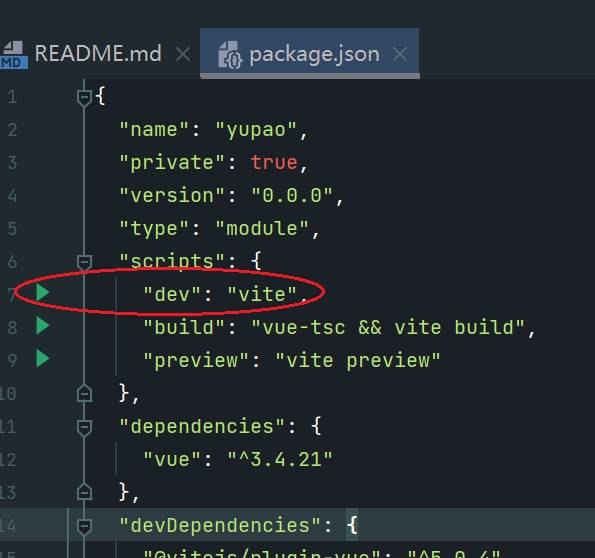
启动后,在终端可以看到:
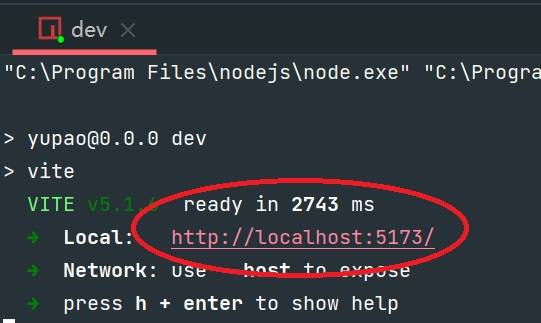
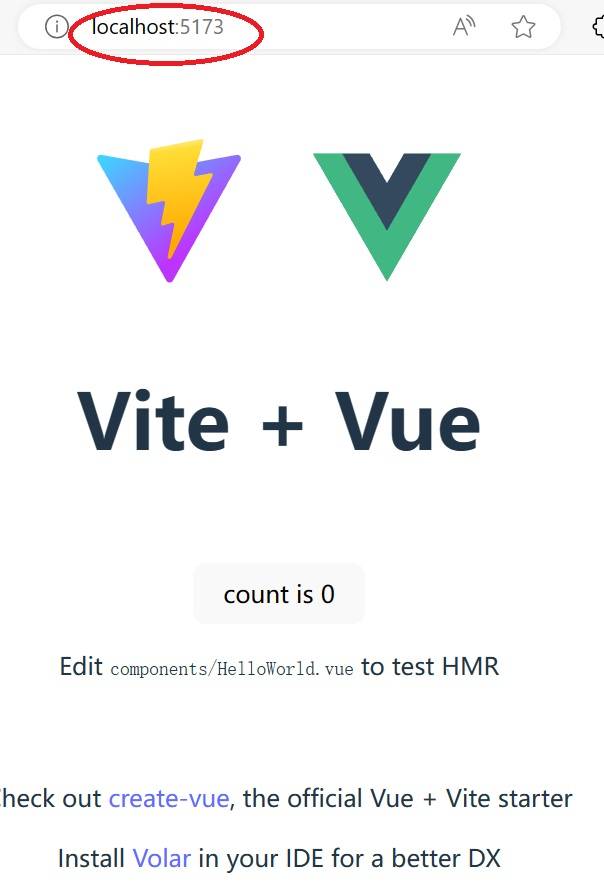
点击对应的网址,可以看到浏览器的启动页面:
2、整合Vant组件库
什么是 Vant?
Vant是轻量、可定制的移动端组件库。
安装vant:
1
2
3
4
|
npm i vant
yarn add vant
|
根据官方文档:https://vant-contrib.gitee.io/vant/#/zh-CN/quickstart,引入vant组件的方式有两种:常规引入和按需引入。两种方式我们都介绍下,后续我们主要使用常规引入。
1、常规引入;
开发时,一般我们选用常规引入;
1
2
3
4
5
6
7
8
9
10
| import { createApp } from 'vue';
import { Button } from 'vant';
import 'vant/lib/index.css';
const app = createApp();
app.use(Button);
|
2、按需引入;
生产环境,一般使用按需引入;
按需引入,需要安装如下:
1
| yarn add @vant/auto-import-resolver unplugin-vue-components -D
|
配置插件,将下列官方参考文档整合到vite.config.js文件:
1
2
3
4
5
6
7
8
9
10
11
12
| import vue from '@vitejs/plugin-vue';
import Components from 'unplugin-vue-components/vite';
import { VantResolver } from '@vant/auto-import-resolver';
export default {
plugins: [
vue(),
Components({
resolvers: [VantResolver()],
}),
],
};
|
整合后的vite.config.js文件:
1
2
3
4
5
6
7
8
9
10
11
12
13
14
| import { defineConfig } from 'vite'
import vue from '@vitejs/plugin-vue'
import Components from 'unplugin-vue-components/vite';
import { VantResolver } from '@vant/auto-import-resolver';
export default defineConfig({
plugins: [
vue(),
Components({
resolvers: [VantResolver()],
}),
],
})
|
点击官网:Button 按钮 - Vant 4 (gitee.io)
引入button组件的示例代码:
1
2
3
4
5
6
7
8
9
| import { createApp } from 'vue';
import { Button } from 'vant';
import 'vant/lib/index.css';
const app = createApp();
app.use(Button);
|
将上述的示例代码整合到/src/main.ts中,整合后的main.ts代码:
1
2
3
4
5
6
7
8
9
10
11
12
| import { createApp } from 'vue'
import './style.css'
import App from './App.vue'
import { Button } from 'vant';
import 'vant/lib/index.css';
const app = createApp(App);
app.use(Button);
app.mount('#app')
|
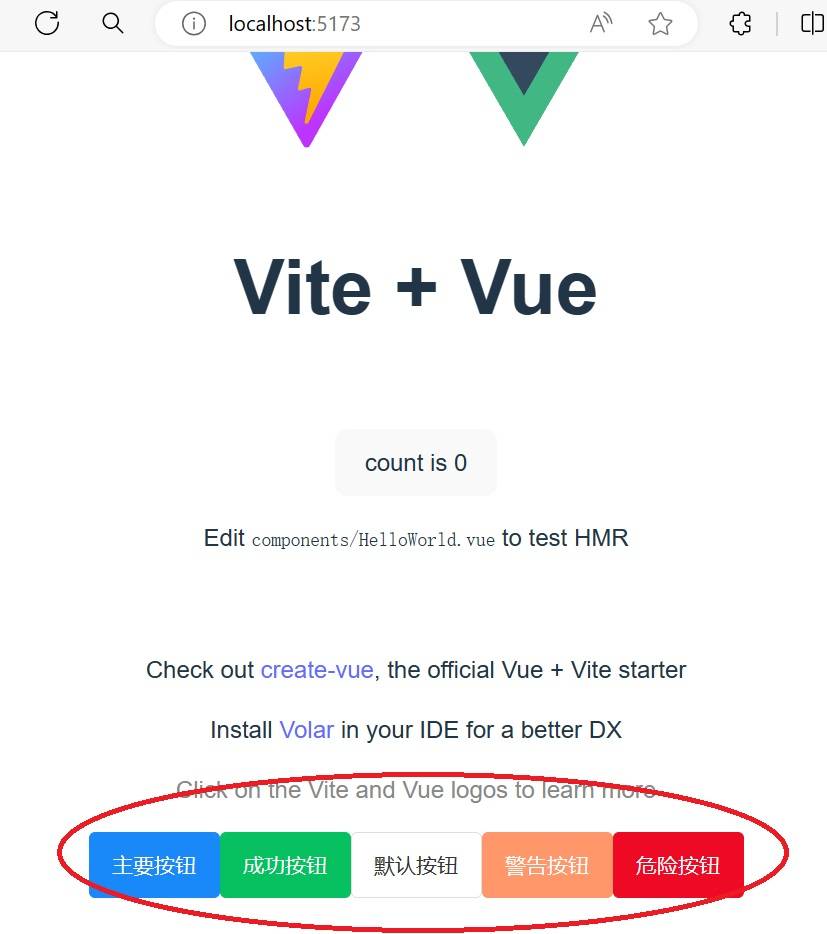
然后,再将如下的5个按钮代码:
1
2
3
4
5
| <van-button type="primary">主要按钮</van-button>
<van-button type="success">成功按钮</van-button>
<van-button type="default">默认按钮</van-button>
<van-button type="warning">警告按钮</van-button>
<van-button type="danger">危险按钮</van-button>
|
复制到App.vue代码中的template标签中,App.vu的代码变为:
1
2
3
4
5
6
7
8
9
10
11
12
13
14
15
16
17
18
19
20
21
22
23
24
25
26
27
28
29
30
31
32
33
34
35
| <script setup lang="ts">
import HelloWorld from './components/HelloWorld.vue'
</script>
<template>
<div>
<a href="https://vitejs.dev" target="_blank">
<img src="/vite.svg" class="logo" alt="Vite logo" />
</a>
<a href="https://vuejs.org/" target="_blank">
<img src="./assets/vue.svg" class="logo vue" alt="Vue logo" />
</a>
</div>
<HelloWorld msg="Vite + Vue" />
<van-button type="primary">主要按钮</van-button>
<van-button type="success">成功按钮</van-button>
<van-button type="default">默认按钮</van-button>
<van-button type="warning">警告按钮</van-button>
<van-button type="danger">危险按钮</van-button>
</template>
<style scoped>
.logo {
height: 6em;
padding: 1.5em;
will-change: filter;
transition: filter 300ms;
}
.logo:hover {
filter: drop-shadow(0 0 2em #646cffaa);
}
.logo.vue:hover {
filter: drop-shadow(0 0 2em #42b883aa);
}
</style>
|
重新启动可以发现网页中出现5个按钮图:
4、引入首页的navbar和tabbar组件
一般的手机端应用顶端有navbar组件,底部有tabbar组件,那么我们就使用vant来引入这两者。
由于移动端应用的navbar和tabbar是要复用的,即切换界面时,这两者是不变的,所以有必要将这两者做成公共的布局。
4.1 添加navbar
在当前的components目录下创建layouts目录,在其中新建组件:BasicLaytout.vue文件:
1
2
3
4
5
6
7
8
9
10
11
12
13
14
15
16
17
18
19
20
21
22
23
24
| <template>
<van-nav-bar title="标题" left-text="返回"
left-arrow @click-left="onClickLeft" @click-right="onClickRight">
<template #right>
<van-icon name="search" size="18" />
</template>
</van-nav-bar>
</template>
<script>
export default {
setup() {
const onClickLeft = () => alert('left');
const onClickRight = () => alert('right');
return {
onClickLeft,
onClickRight,
};
},
}
</script>
<style scoped>
</style>
|
App.vue源代码修改为:
1
2
3
4
5
6
7
8
9
10
11
| <script setup lang="ts">
import BasicLayout from "./components/layouts/BasicLayout.vue";
</script>
<template>
<BasicLayout />
</template>
<style scoped>
</style>
|
main.ts中增加对NavBar的引用:
1
2
3
4
5
6
7
8
9
10
11
12
13
14
| import { createApp } from 'vue'
import './style.css'
import App from './App.vue'
import { NavBar, Button } from 'vant';
import 'vant/lib/index.css';
const app = createApp(App);
app.use( NavBar );
app.use( Button );
app.mount('#app')
|
重新编译启动,访问http://localhost:5173/,会发现格式混乱:

原因是main.ts中引入了系统的style.css文件,将main.ts中的这行代码注释即可:
1
2
3
| import { createApp } from 'vue'
// import './style.css'
import App from './App.vue'
|
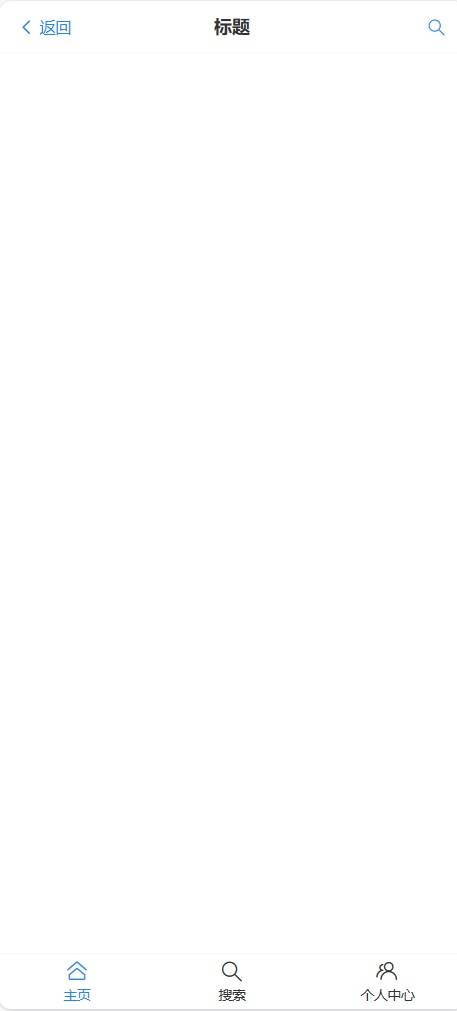
再次重启后,可以发现NavBar显示正常,如下图所示:

现在的问题是上述NavBar右侧的”搜索”图标没有正常显示,主要原因是我们没有在main.ts中引入Icon组件,在main.ts中要增加如下的两个语句:
1
2
| import { Icon } from 'vant';
app.use(Icon);
|
再重启,就可以发现右上角出现搜索的图标。
4.2 添加tabbar
参照上述流程,我们再给手机端主页加上tabbar组件,该组件的用途:底部导航栏,用于在不同页面之间进行切换。
官方地址:Tabbar 标签栏 - Vant 4 (gitee.io)
主要的修改集中在BasicLayout.vue和main.ts文件中;其中BasicLayout.vue:
1
2
3
4
5
6
7
8
9
10
11
12
13
14
15
16
17
18
19
20
21
22
23
24
25
26
27
28
29
30
31
32
33
34
35
36
| <template>
<van-nav-bar title="标题" left-text="返回" left-arrow
@click-left="onClickLeft"
@click-right="onClickRight">
<template #right>
<van-icon name="search" size="18" />
</template>
</van-nav-bar>
<van-tabbar v-model="active">
<van-tabbar-item icon="home-o">主页</van-tabbar-item>
<van-tabbar-item icon="search">搜索</van-tabbar-item>
<van-tabbar-item icon="friends-o">个人中心</van-tabbar-item>
</van-tabbar>
</template>
<script>
import { ref } from 'vue';
export default {
setup() {
const onClickLeft = () => alert('left');
const onClickRight = () => alert('right');
const active = ref(0);
return {
onClickLeft,
onClickRight,
active,
};
},
}
</script>
<style scoped>
</style>
|
main.ts中增加的代码如下:
1
2
3
| import { Tabbar, TabbarItem } from "vant";
app.use('Tabbar');
app.use('TabbarItem');
|
重新启动后,得到页面如下:
5、添加tabbar对应的页面
现在我们暂时有三个tabbar:主页,搜索和个人中心。针对每个tabbar,开发一个页面。
在components目录下,创建pages目录,然后在其中创建三个页面,分别为:Index.vue, SearchItems.vue和Usercenter.vue。
为了区分不同的点击,我们首先在tabbar组件中,增加name关键字区分:
1
2
3
4
5
| <van-tabbar v-model="active">
<van-tabbar-item icon="home-o" name="index">主页</van-tabbar-item>
<van-tabbar-item icon="search" name="searchitems">搜索</van-tabbar-item>
<van-tabbar-item icon="friends-o" name="usercenter">个人中心</van-tabbar-item>
</van-tabbar>
|
在BasicLayout再增加:
1
2
3
4
5
6
7
8
9
10
11
12
13
| <div id="content">
<template v-if="active === 'index'">
<Index />
</template>
<template v-if="active === 'searchitems'">
<SearchItems />
</template>
<template v-if="active === 'usercenter'">
<Usercenter />
</template>
</div>
|
另外script中增加:
1
2
3
4
5
6
7
8
9
10
11
12
13
| <script>
import { ref } from 'vue';
import Index from "../pages/Index.vue";
import SearchItems from "../pages/SearchItems.vue";
import Usercenter from "../pages/Usercenter.vue";
export default {
components: {SearchItems, Usercenter, Index},
setup() {
const onClickLeft = () => alert('left');
const onClickRight = () => alert('right');
const active = ref('index');
...
|
完成上述添加后,就可以通过点击tabbar来切换不同的页面。
6、整合路由
当前我们切换页面的方式是通过v-if的方式,这种方式不够灵活,当页面一多,也不好维护;
所以我们使用vue-router来实现页面的路由,官网:安装 | Vue Router (vuejs.org)
根据官网,安装命令:
参考其使用入门入门 | Vue Router (vuejs.org),在js下的使用模板:
1
2
3
4
5
6
7
8
9
10
11
12
13
14
15
16
17
18
19
20
21
22
23
24
25
26
27
28
|
const Home = { template: '<div>Home</div>' }
const About = { template: '<div>About</div>' }
const routes = [
{ path: '/', component: Home },
{ path: '/about', component: About },
]
const router = VueRouter.createRouter({
history: VueRouter.createWebHashHistory(),
routes,
})
const app = Vue.createApp({})
app.use(router)
app.mount('#app')
|
上述文件要整合到我们的项目中:
- 1、第1步,我们不需要做,因为我们在pages中已经定义了页面;
- 2、第2步,需要做,给目录pages中的组件定义路由名;
- 3、第3、4、5步,需要做,主要是整合到main.ts文件中;
6.1、定义routes并添加router
持续开发中,可能会出现很多页面,所以最好将routes定义到单独某个目录文件中,不要全部写在main.ts一个文件中;
所以在/src/目录下,创建configs目录,再新建route.ts文件:
1
2
3
4
5
6
7
8
9
10
11
| import SearchItems from "../components/pages/SearchItems.vue";
import Usercenter from "../components/pages/Usercenter.vue";
import Index from "../components/pages/Index.vue";
const routes = [
{ path: '/', component: Index },
{ path: '/searchitems', component: SearchItems },
{ path: '/usercenter', component: Usercenter}
];
export default routes;
|
回到main.ts,我们添加如下的内容:
1
2
3
4
5
6
7
8
9
| import routes from "./configs/route";
import * as VueRouter from 'vue-router';
const router = VueRouter.createRouter({
history: VueRouter.createWebHashHistory(),
routes,
})
app.use(router);
|
6.2、将tabbar修改为路由形式:
vant的tabbar本身支持基于vue-router的路由模式:Tabbar 标签栏 - Vant 4 (gitee.io)
官方给出的示例代码:
1
2
3
4
5
6
| <router-view />
<van-tabbar route>
<van-tabbar-item replace to="/home" icon="home-o">标签</van-tabbar-item>
<van-tabbar-item replace to="/search" icon="search">标签</van-tabbar-item>
</van-tabbar>
|
我们将官方的代码整合到我们的BasicLayout.vue组件中:
1
2
3
4
5
6
7
8
9
| <div id="content">
<router-view />
</div>
<van-tabbar route>
<van-tabbar-item replace to="/" icon="home-o">主页</van-tabbar-item>
<van-tabbar-item replace to="/searchitems" icon="search">搜索</van-tabbar-item>
<van-tabbar-item replace to="/usercenter" icon="friends-o">个人中心</van-tabbar-item>
</van-tabbar>
|
注意上述中的:router-view是显示页面的地方。
综合上述的步骤,现在我们就可以使用路由的方式,来实现页面之间的跳转。
7、增加搜索页与返回到主页
当前的NavBar中,左侧的返回与右侧的搜索按钮,只能弹出alert框。现在我们将左侧的”返回”按钮,导向到Index组件;
右侧的”搜索”按钮导向到搜索页。
我们先到官网选择一个搜索页模板:Search 搜索 - Vant 4 (gitee.io),然后到pages目录下创建SearchPage.vue组件:
1
2
3
4
5
6
7
8
9
10
11
12
13
14
15
16
17
18
19
20
21
22
23
24
25
26
27
28
29
30
31
32
| <template>
<form action="/">
<van-search
v-model="value"
show-action
placeholder="请输入搜索关键词"
@search="onSearch"
@cancel="onCancel"
/>
</form>
</template>
<script>
import { ref } from 'vue';
import { showToast } from 'vant';
export default {
setup() {
const value = ref('');
const onSearch = (val) => showToast(val);
const onCancel = () => showToast('取消');
return {
value,
onSearch,
onCancel,
};
},
};
</script>
<style scoped>
</style>
|
在main.ts中引入Search:
1
2
| import { Search } from 'vant';
app.use(Search);
|
在configs/route.ts中,增加对应的路由:
1
| { path:'/search', component: SearchPage},
|
还有就是在BasicLayout.Vue中进行相应的修改,参照vue-router官网的文档:入门 | Vue Router (vuejs.org)
对如下的这行左边返回按钮操作:
1
| const onClickLeft = () => alert('left');
|
进行修改:
1
2
3
4
5
6
7
8
9
10
11
12
| import { useRouter } from 'vue-router';
setup(){
const router = useRouter();
const onClickLeft = () =>{
router.push('/');
};
const onClickRight =() =>{
router.push('/search');
};
...
}
|
完成上述修改后,点击 “返回”可以回到主页,而点击”搜索”图标,可以弹出搜索页。
8、构建及部署
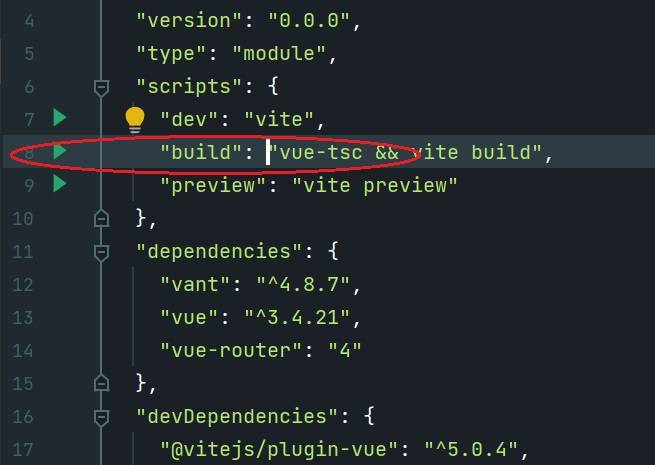
具体的开发过程,我们告一段落,接下来我们重点介绍下,如何构建生产版本以及部署。构建生产版本,只需点击packge.json中的build左侧的绿色小三角形,构建如果没有遇到错误,则会在项目文件中新建dist目录,其中存放有构建出来的生产版本。
如果你想预览当前的生产版本,可以点击preview对应的绿色小三角,即可以根据webstorm下方终端提示的地址访问。
要部署到服务器,比如nginx,只需拷贝dist目录到服务器,然后设置nginx配置文件中的root目录即可。其他的部署方式,见官方文件:部署静态站点 {deploying-a-static-site} | Vite中文网 (vitejs.cn)
9、其他及源代码
编程有人同行,学习不再迷茫: